Stripe Payment Tracking
This integration will make sure that your customers purchases are tracked.
If you use Stripe to track customer purchases, you can set up a webhook integration so PartnerStack can listen for events relating to charges and subscriptions. Once we receive information about a customer paying for your product, we can record that payment in PartnerStack and ensure your partners are properly attributed!
Supported Stripe Events
PartnerStack supports listening for the following events from Stripe per their developer documentation:
customer.created,customer.updated: When this event is received, a customer is either created or updated on the platform. We sync Stripe's Customer ID to the customer record in PartnerStack, allowing us to record future transactions for this customer from Stripe!charge.succeeded,charge.captured,charge.updated: When we receive any of these events, a transaction is recorded under the associated customer in PartnerStackcharge.refunded,charge.failed: When we receive these events, we delete the original transaction in PartnerStack, if it exists.
Alternatively, we can listen for invoice.payment_succeeded events instead of charge.succeeded events for recording transactions on the platform.
The transaction amount recorded in PartnerStack is different for the
charge.succeededevent and theinvoice.payment_succeededevent.
The amount is taken from the amount field on thecharge.succeededevent where the amount is taken from the subtotal field on theinvoice.payment_succeededevent. The amount cannot be customized.
Method 1: Integrating via Stripe app
In the PartnerStack dashboard. Navigate to Settings > Integrations > Payment Webhooks and find Stripe from the Supported integrations. Click Install Stripe app.
- Click Install Stripe app
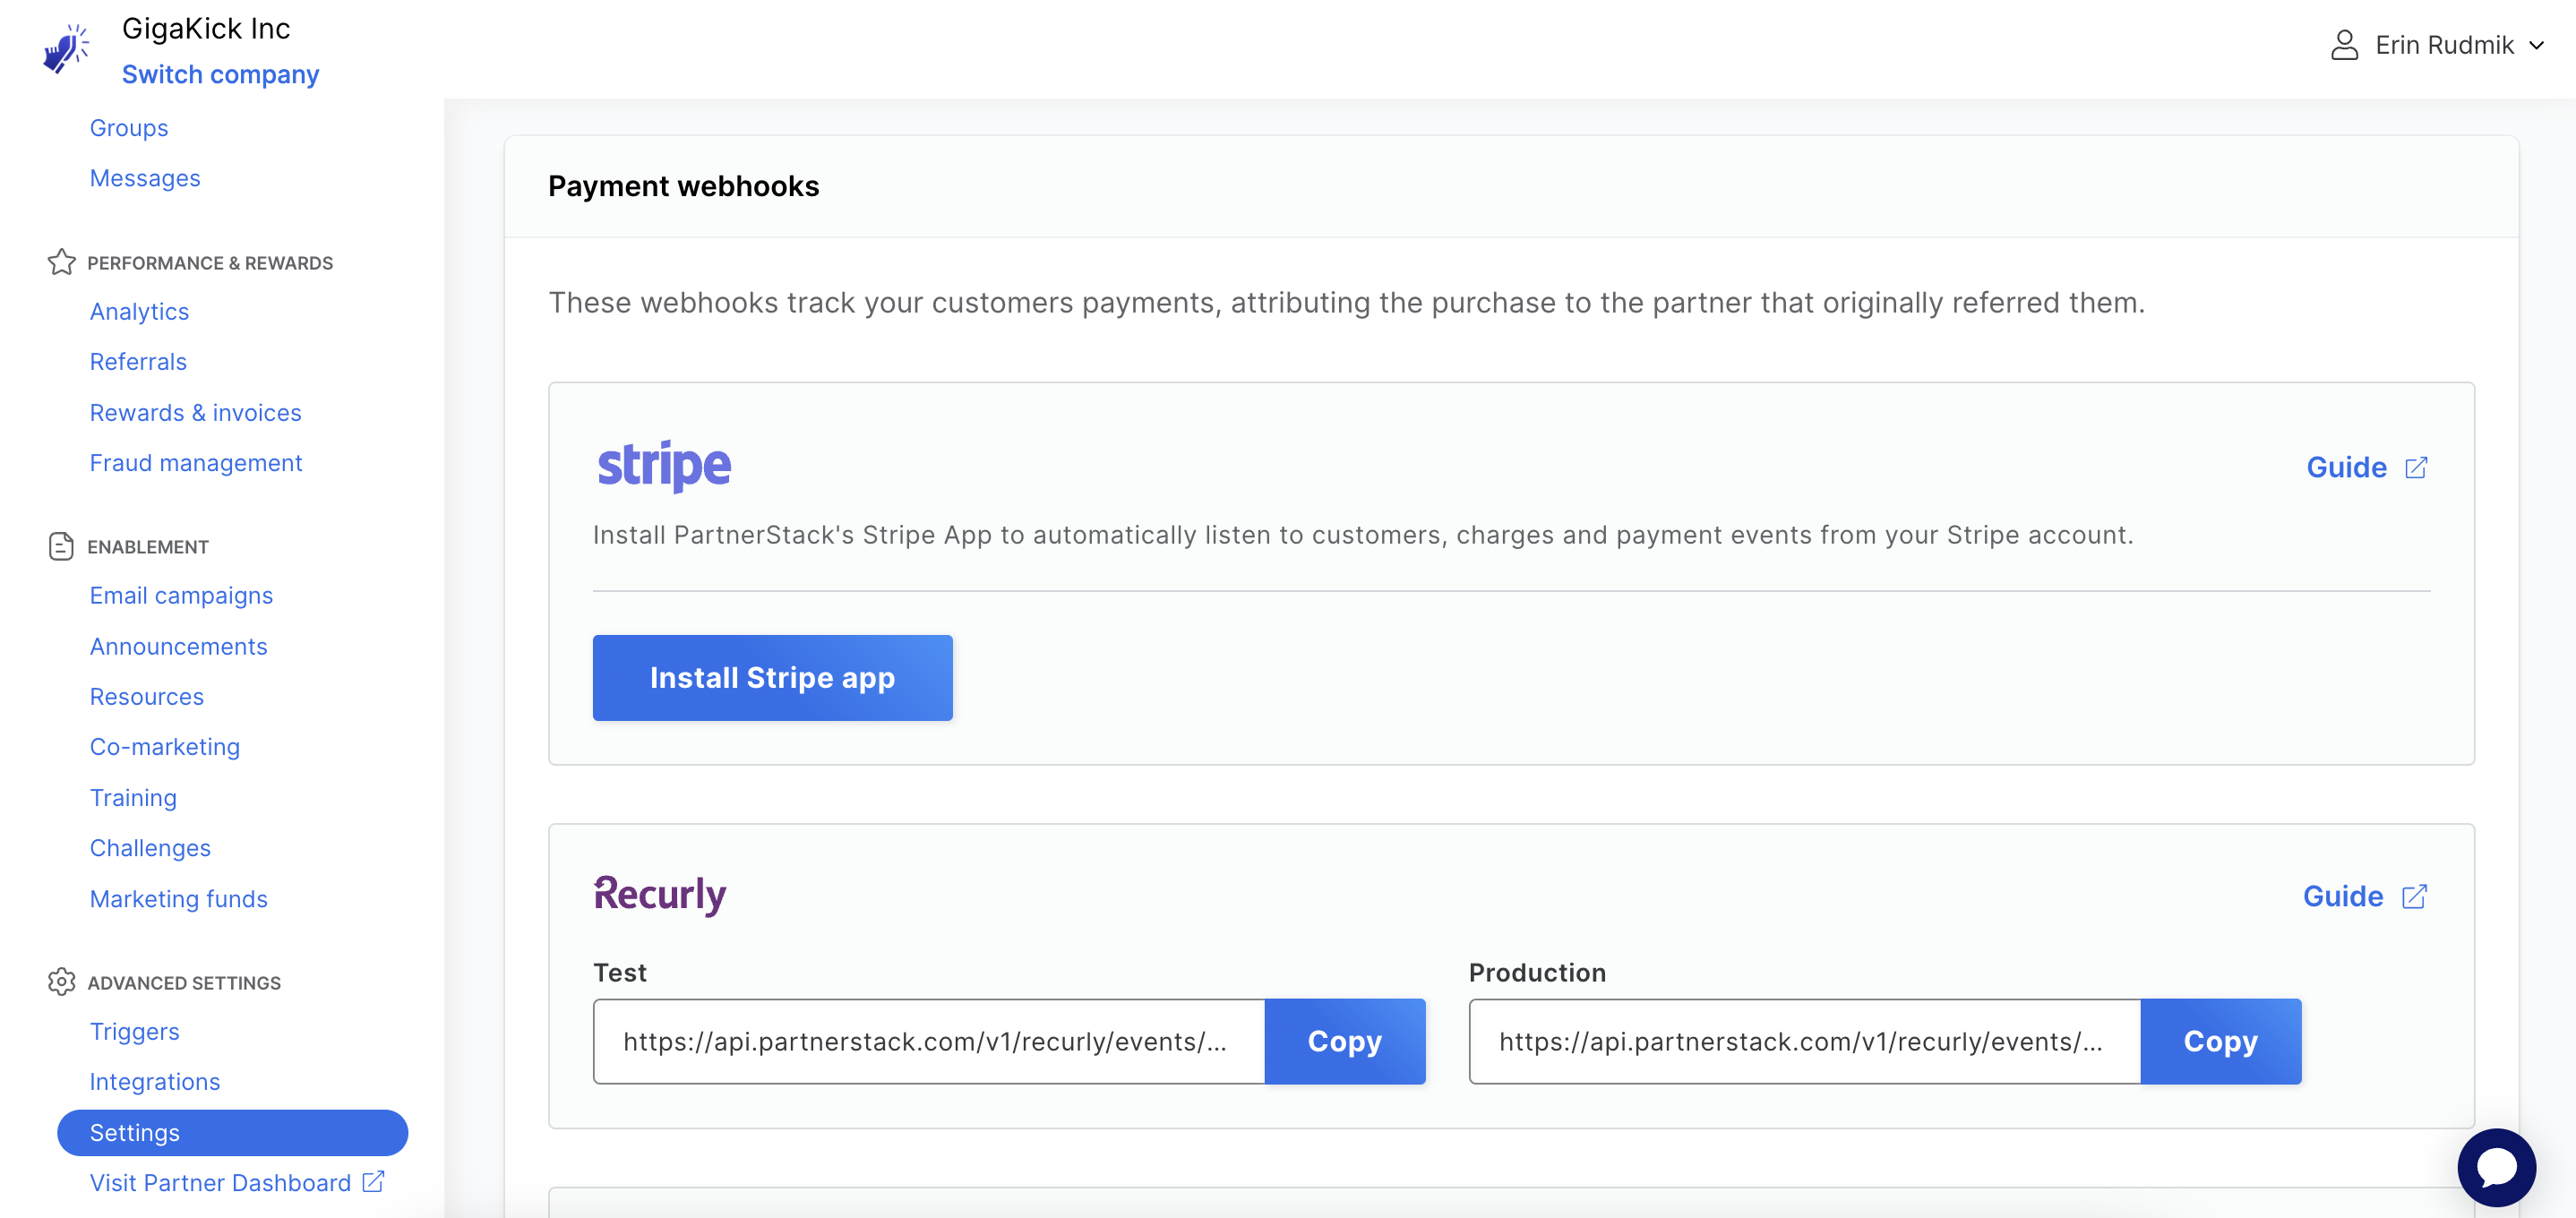
- In the new tab that opens, log into Stripe.
- Select which account you would like to connect to PartnerStack.
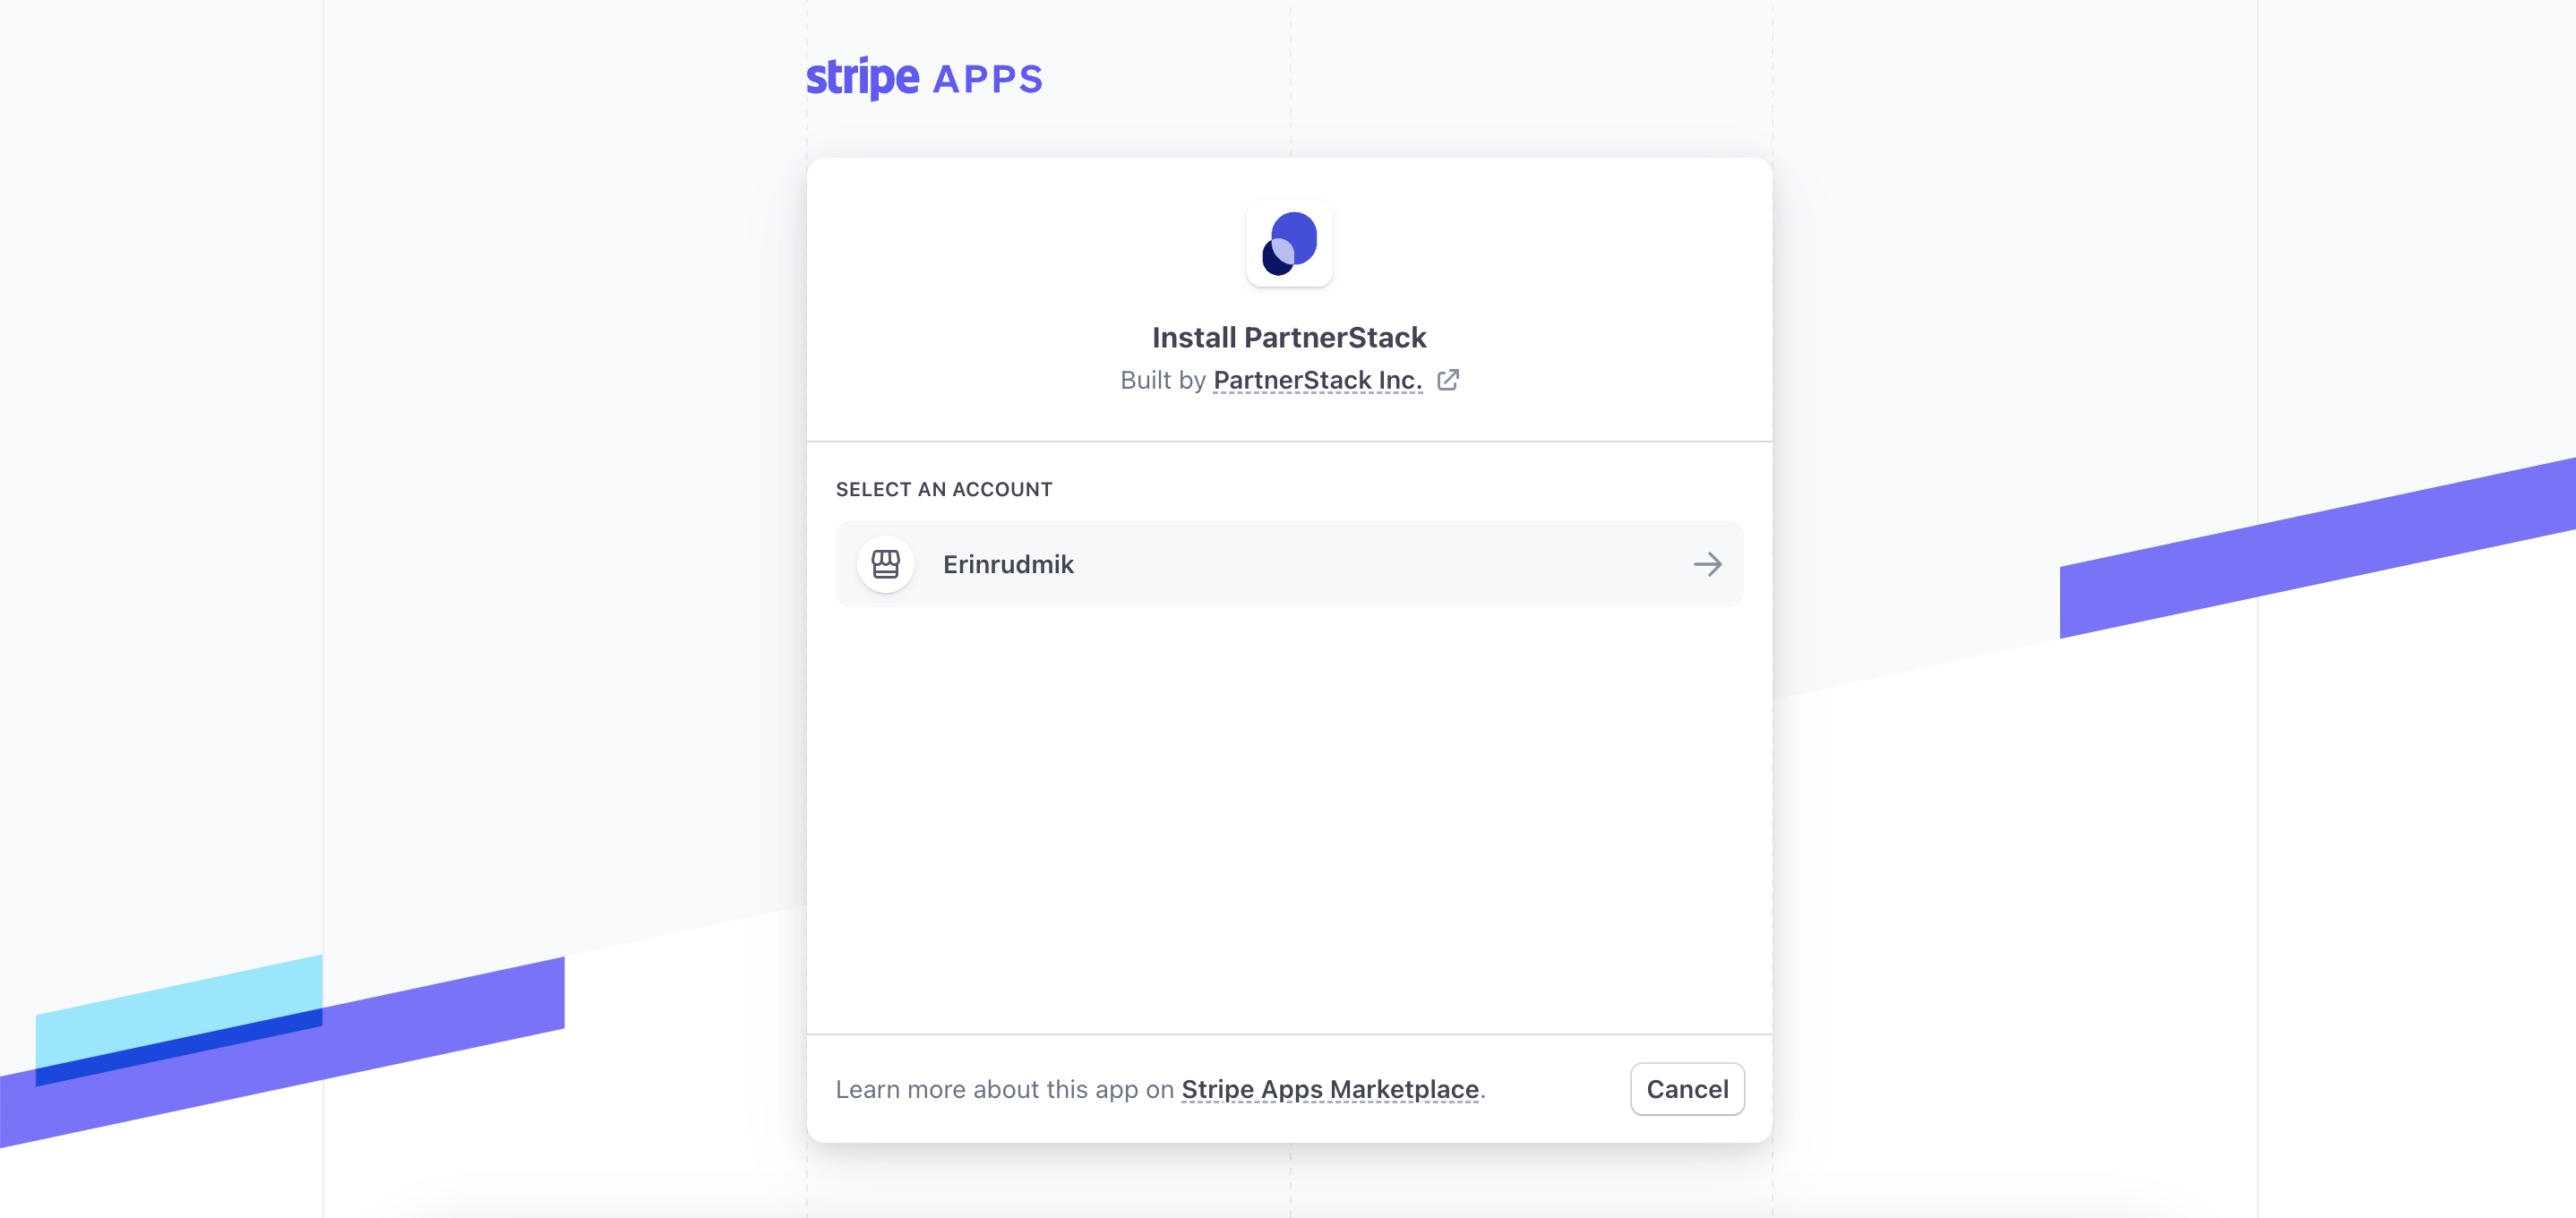
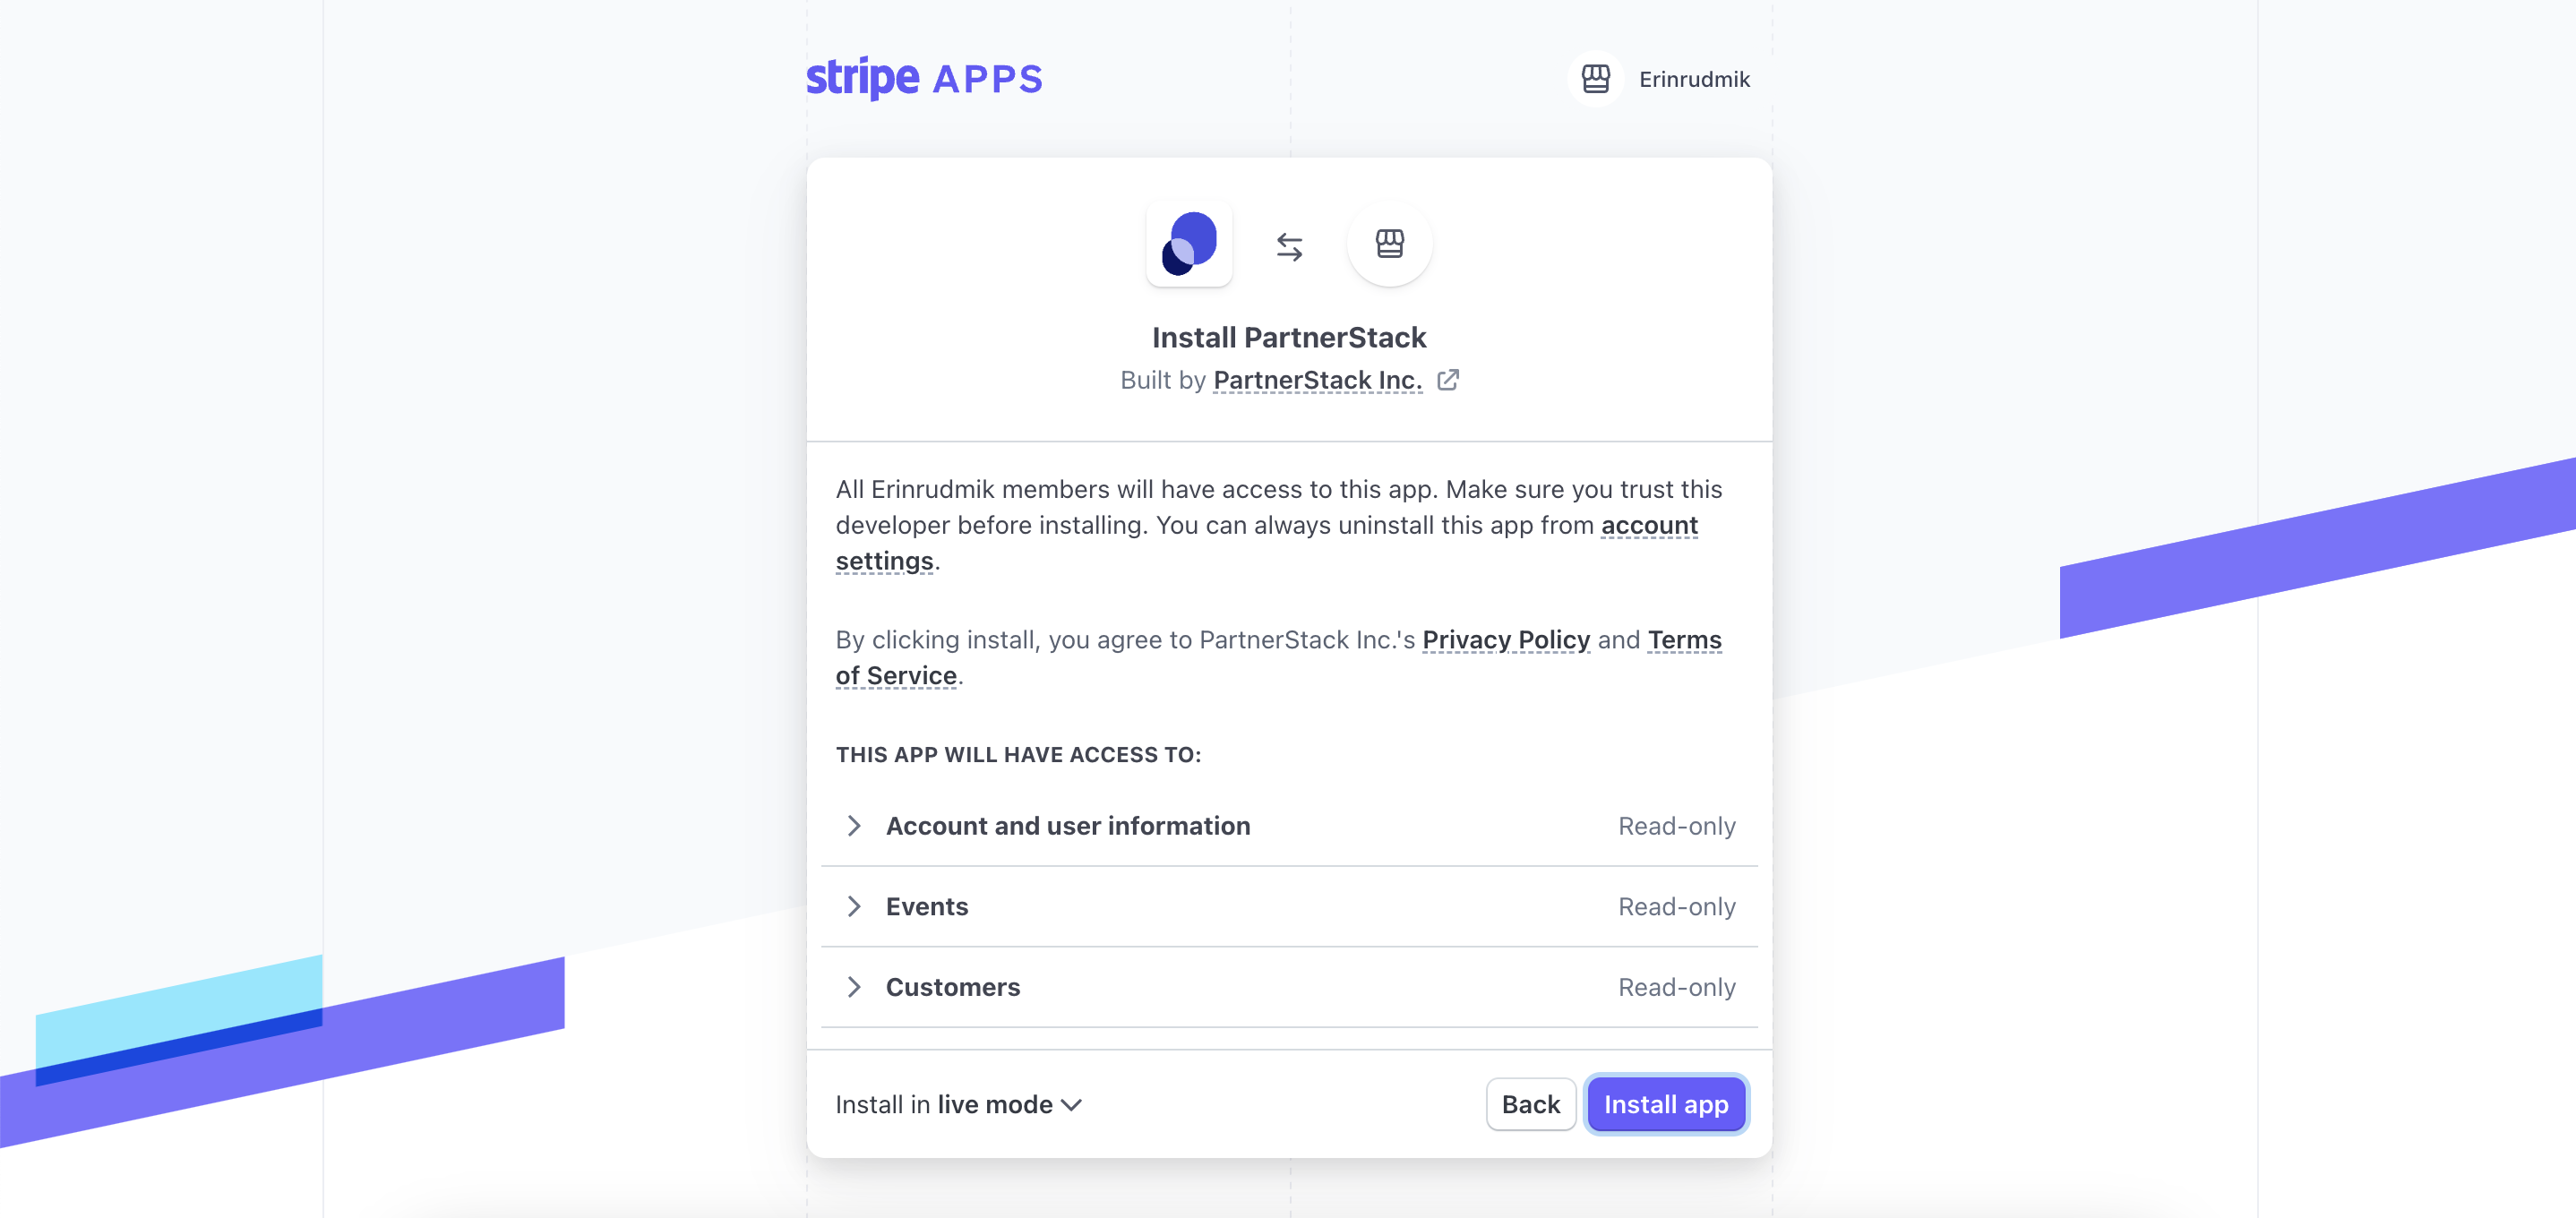
- Review app access, and click Install app. Leave the setting at the bottom-left corner in “Install in live mode”
- After installation, you will automatically be redirected back to PartnerStack after installation, which should display that the app is successfully installed.
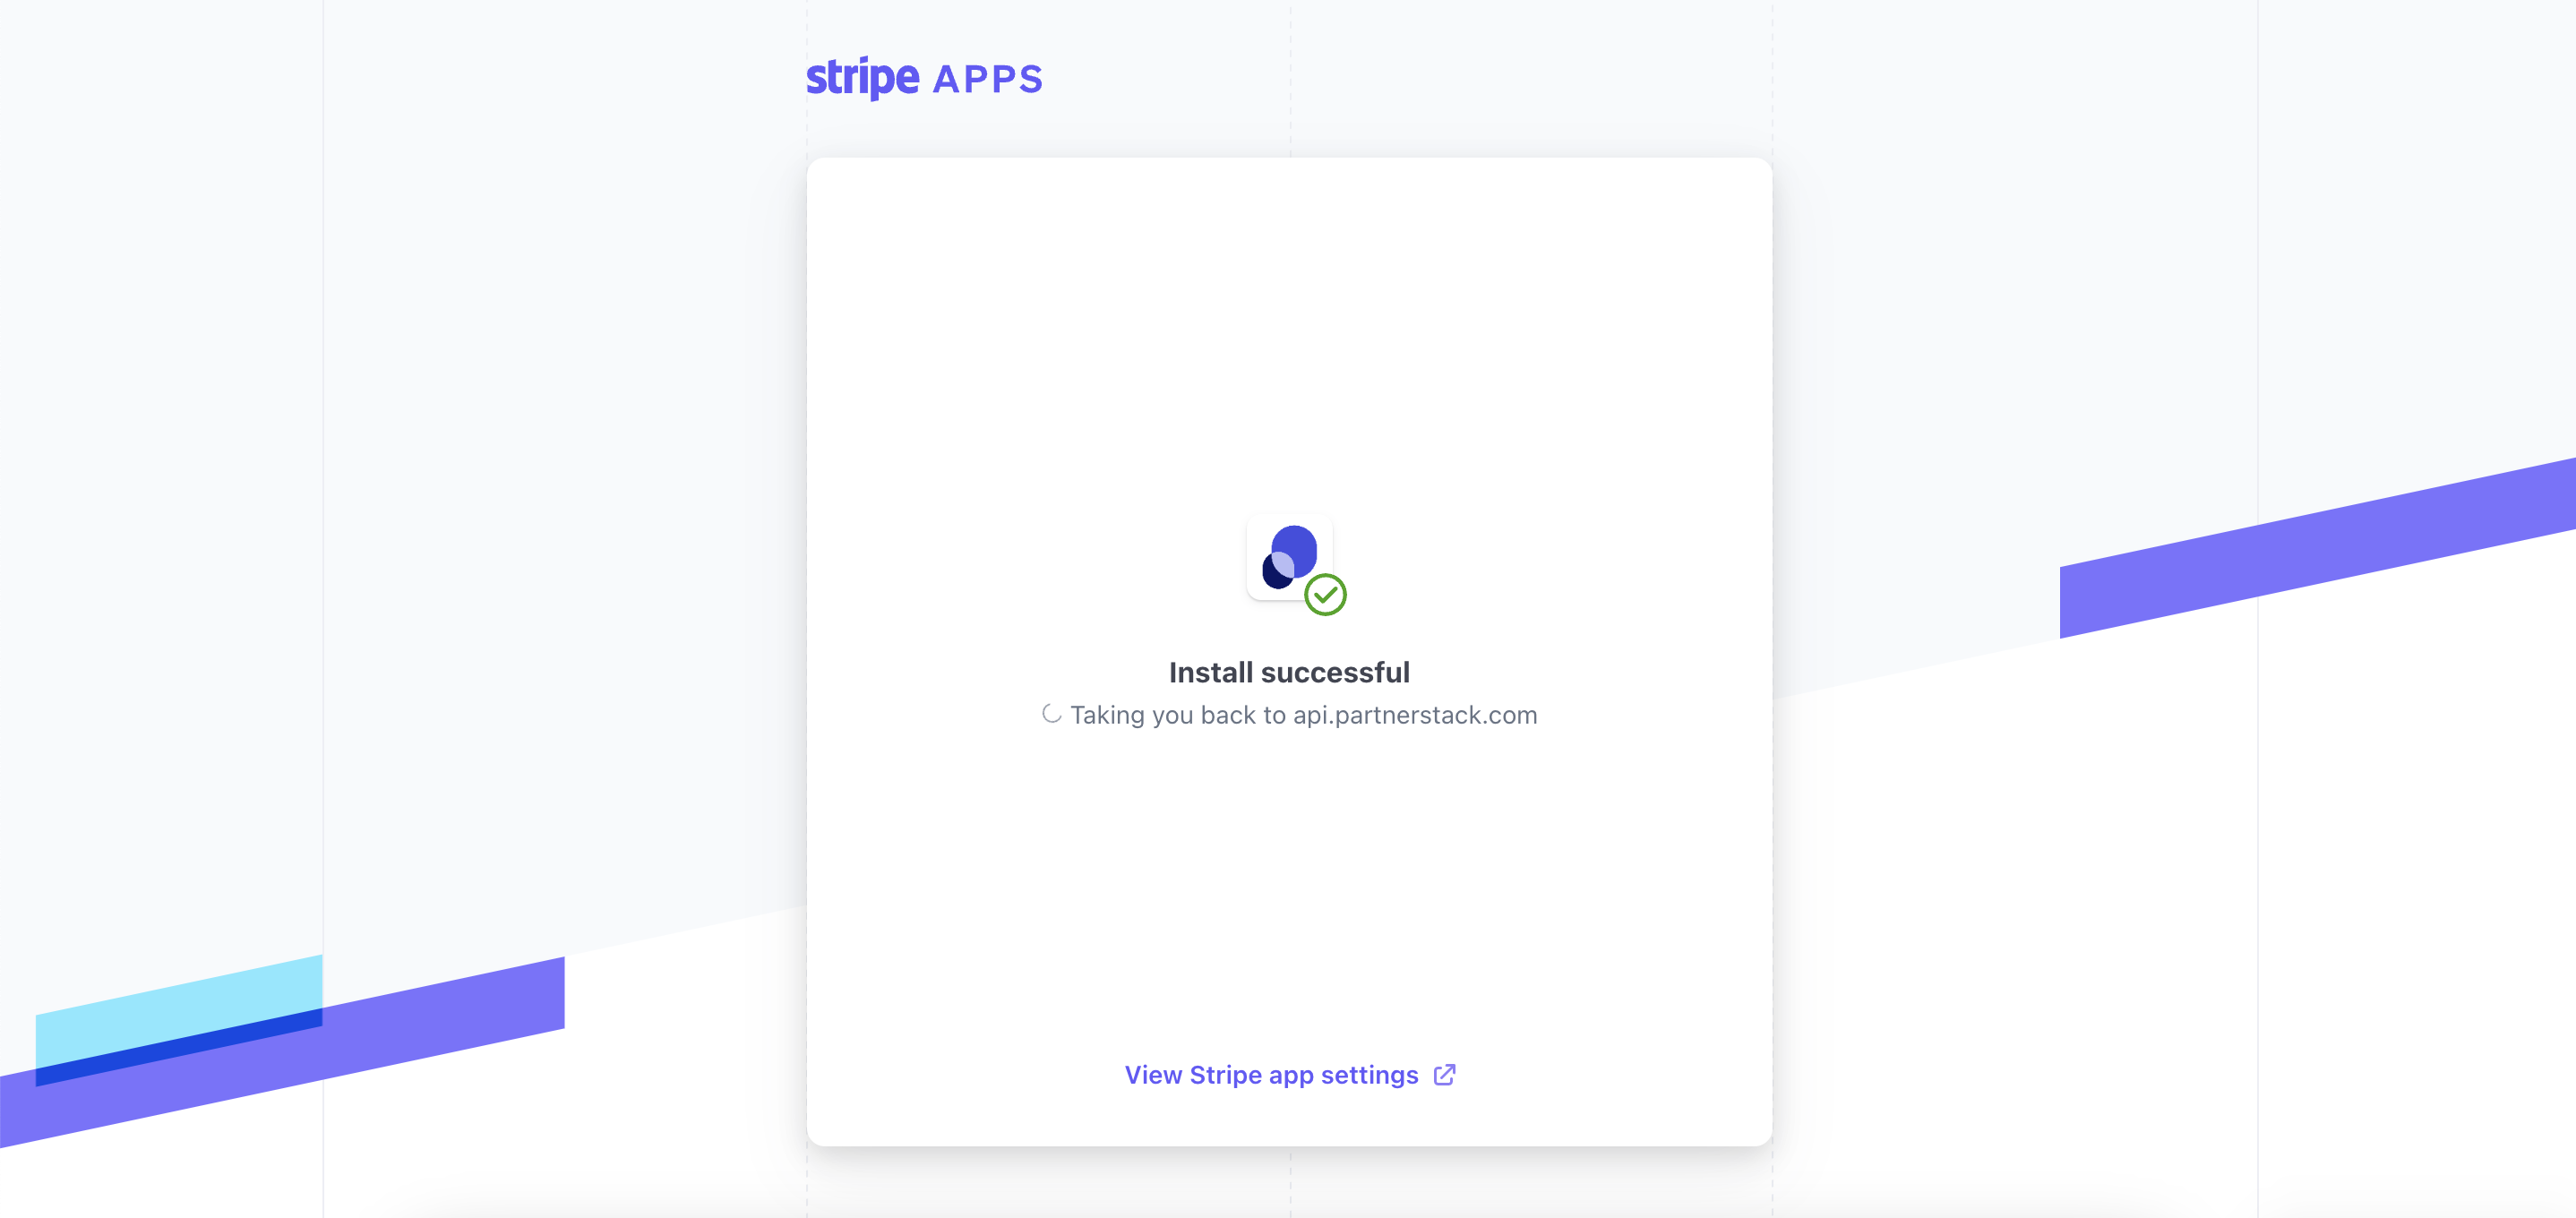
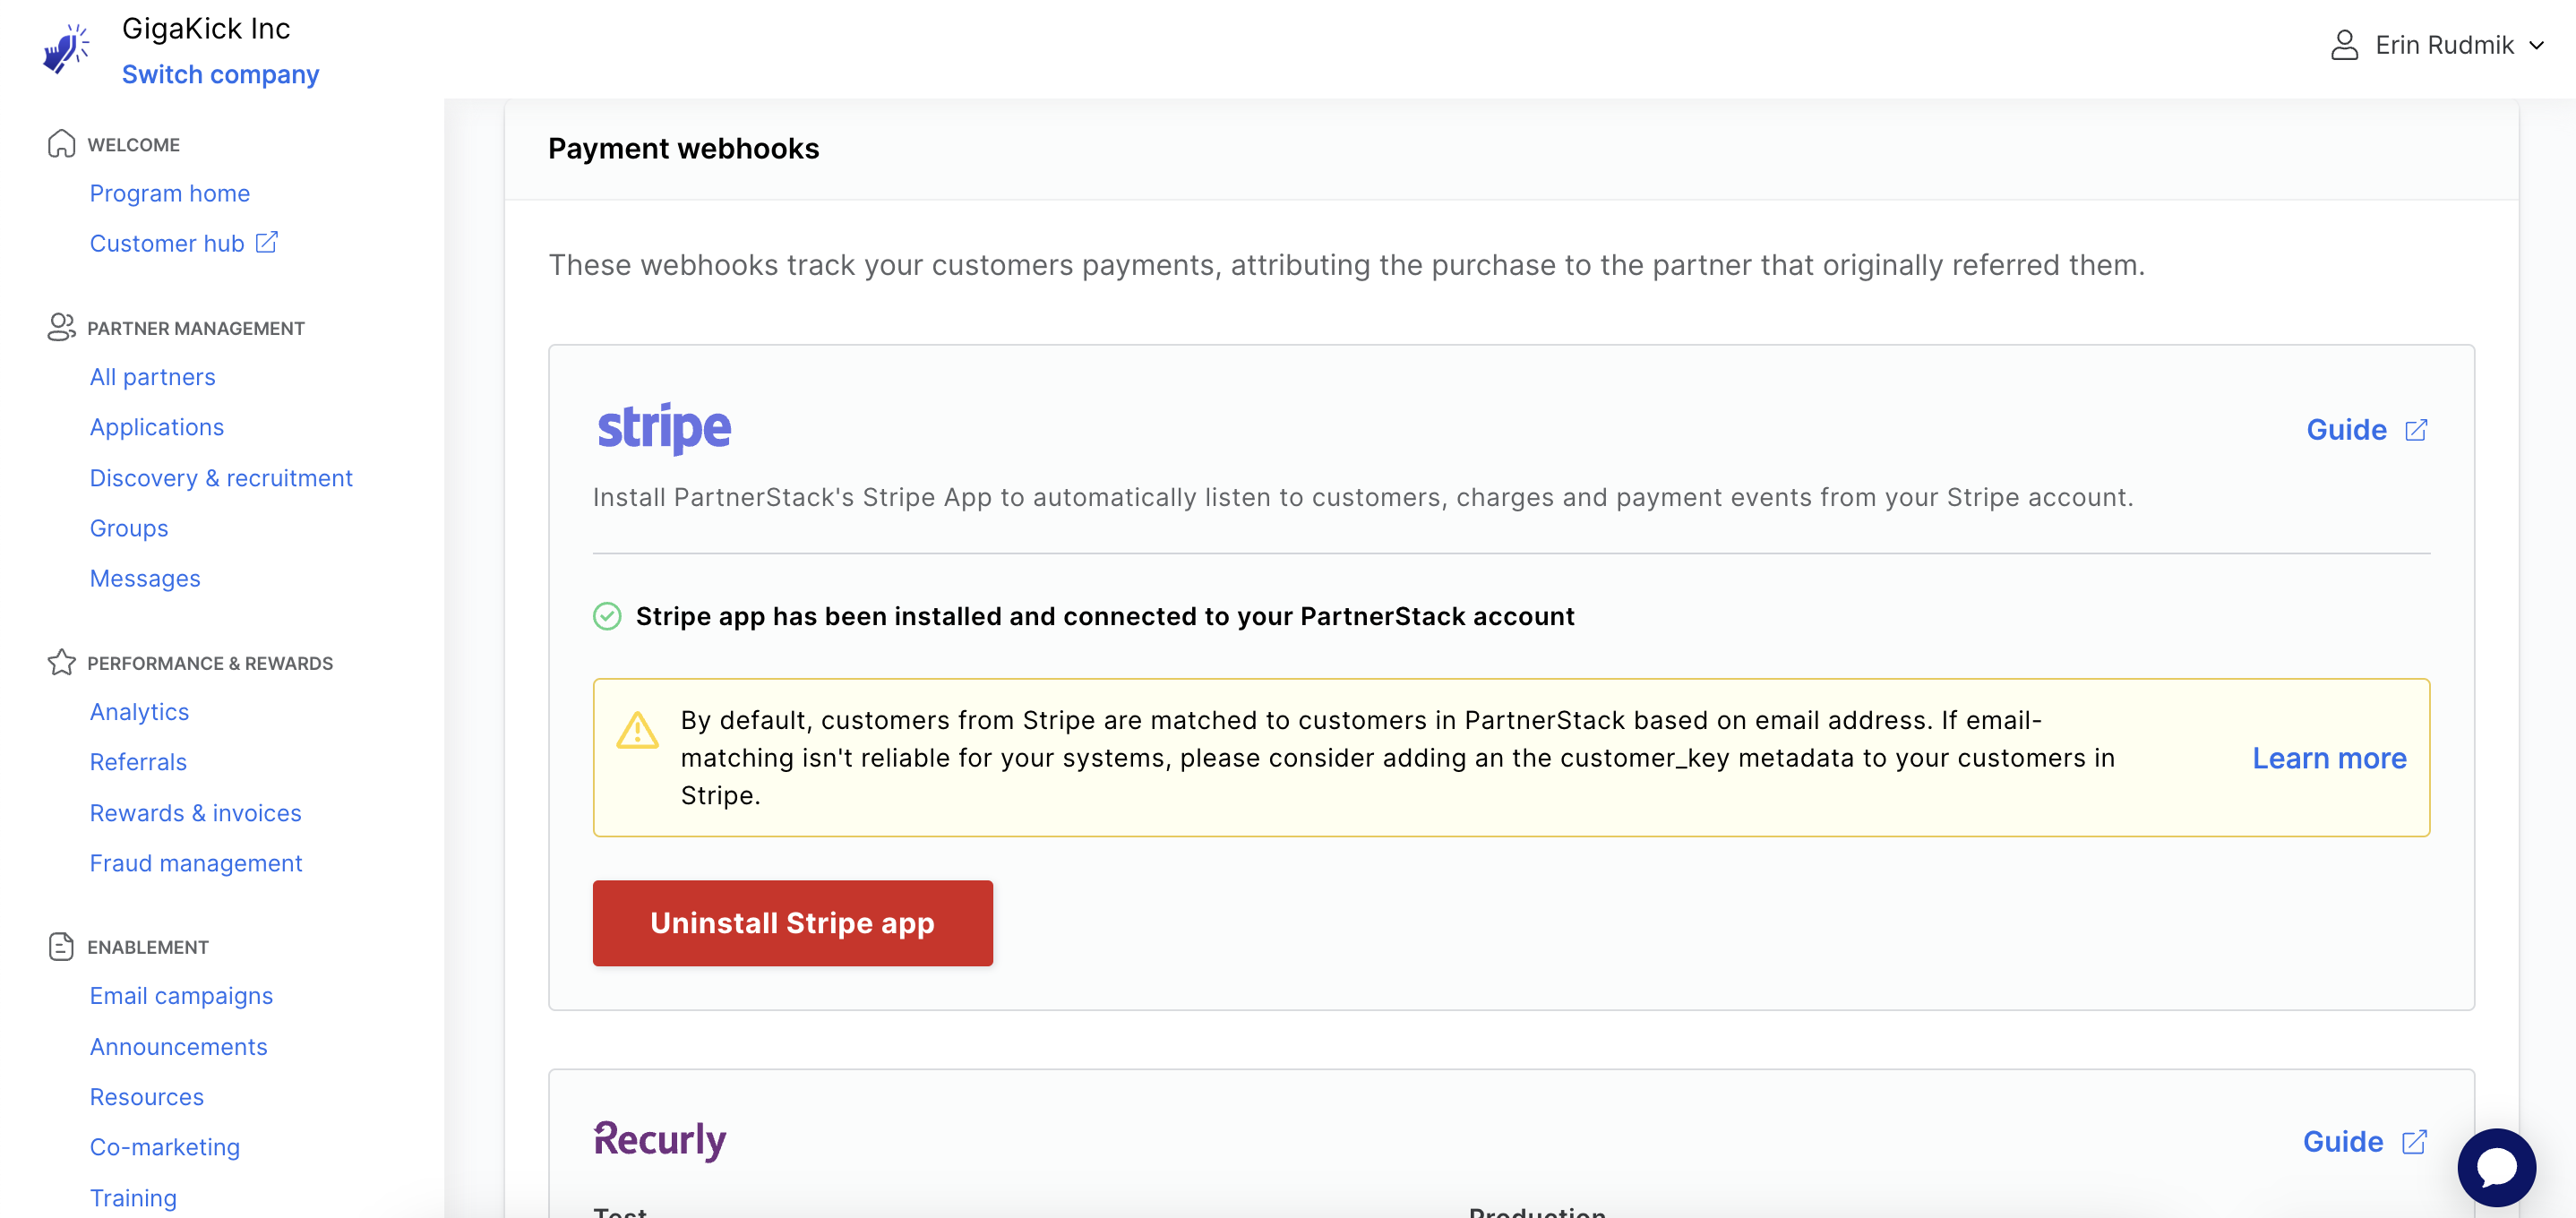
All steps of this installation process must complete in order to successfully integrate PartnerStack with stripe. Quitting midway through this process may require vendors to uninstall the app and reinstall.
Method 2: Manual Webhooks
Some vendors can integrate to PartnerStack directly through creating a webhook through PartnerStack. This is a more time-consuming approach to integration, so this is disabled for new PartnerStack vendors as of Feb 2024. To make this option available, please contact your CSM.
To connect Stripe to PartnerStack via webhooks manually:
- In the PartnerStack dashboard. Navigate to
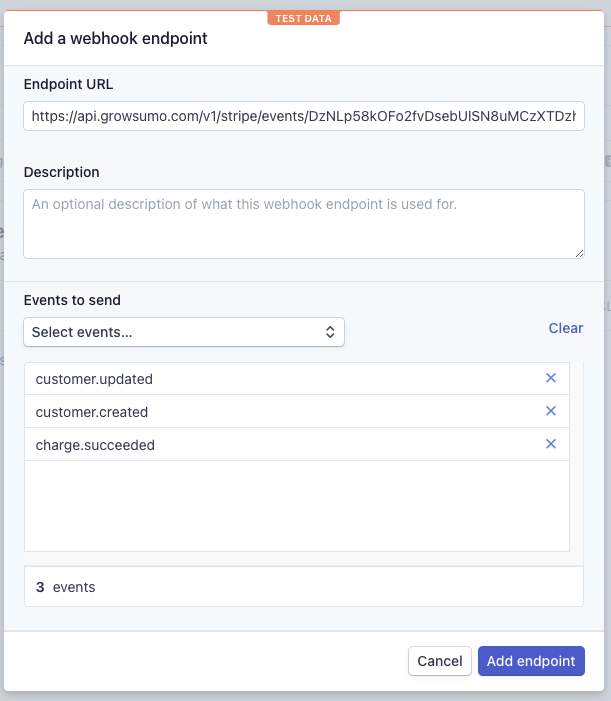
Settings>Integrations>Webhooksand selectStripefrom the Supported integrations.

- Log into your Stripe dashboard.
- On the left sidebar, click "Developers", then "Webhooks".
- Click on "+ Add Endpoint" and fill in the URL you copied from your PartnerStack dashboard!
- Select the events you'd like to send to PartnerStack.
- Click "Add endpoint" and you're good to go!
Add customer key to Stripe Metadata
Whenever you interact with Stripe to record transactions under a customer, you need to let PartnerStack know which customer you're referring to. At PartnerStack, we identify customers using their customer key. This can be any value that uniquely identifies customers on your platform, for example their email address.
If you’ve integrated via Stripe App, customers are matched between Stripe and PartnerStack via their email address by default. You may want to set a more unique customer key to ensure accurate matching between Stripe and PartnerStack (ex. their unique identifier within your CRM).
If you're using PartnerStackJS, this would be the value you used for growsumo.data.customer_key when the customer signed up. If you used our PartnerStack API to create the customer record, this would be the value you passed as the key.
PartnerStack looks for customer_key in the Stripe metadata to identify customers. Below is an example of how this could work on your back-end, but your implementation may vary based on how your product interacts with Stripe!
ADD `metadata` containing the `customer_key`
MAKE SURE it matches the one used with PartnerStackJS

# import stripe
# stripe.api_key = "sk_test_w82a3du.."
# stripe.Customer.create(
      metadata={
        "customer_key":<YOUR_CUSTOMERS_KEY>
      },
#     source="tok_18sjJiIDkGDhAX2xt24vr4Zx"
# )
ADD `metadata` containing the `customer_key`
MAKE SURE it matches the one used with GrowSumoJS
# require "stripe"
# Stripe.api_key = "sk_test_BQokikJOvBiI2HlWgH4olfQ2"
# Stripe::Customer.create(
:metadata => {'customer_key' => <YOUR_CUSTOMERS_KEY>}
# :description => "Customer for [email protected]",
# :source => "tok_189fT12eZvKYlo2CYj4YoHKu" # obtained with Stripe.js
# )ADD `metadata` containing the `customer_key`
MAKE SURE it matches the one used with GrowSumoJS
# <?
# \Stripe\Stripe::setApiKey("sk_test_BQokikJOvBiI2HlWgH4olfQ2");
# \Stripe\Customer::create(array(
"metadata" => array("customer_key" => <YOUR_CUSTOMERS_KEY>)
# "description" => "Customer for [email protected]",
# "source" => "tok_189fT12eZvKYlo2CYj4YoHKu"
# ));ADD `metadata` containing the `customer_key`
MAKE SURE it matches the one used with GrowSumoJS
// Stripe.apiKey = "sk_test_BQokikJOvBiI2HlWgH4olfQ2";
// Map<String, Object> customerParams = new HashMap<String, Object>();
// customerParams.put("description", "Customer for [email protected]");
// customerParams.put("source", "tok_189fT12eZvKYlo2CYj4YoHKu");
Map<String, String> initialMetadata = new HashMap<String, String>();
initialMetadata.put("customer_key", <YOUR_CUSTOMERS_KEY>);
customerParams.put("metadata", initialMetadata);
// Customer.create(customerParams);ADD `metadata` containing the `customer_key`
MAKE SURE it matches the one used with GrowSumoJS
// var stripe = require("stripe")(
// "sk_test_BQokikJOvBiI2HlWgH4olfQ2"
// );
// stripe.customers.create({
// description: 'Customer for [email protected]',
// source: "tok_189fT12eZvKYlo2CYj4YoHKu",
metadata: {"customer_key":<YOUR_CUSTOMERS_KEY>}
// });ADD 'metadata' containing the 'customer_key'
MAKE SURE it matches the one used with GrowSumoJS
// stripe.Key = "sk_test_BQokikJOvBiI2HlWgH4olfQ2"
// customerParams := &stripe.CustomerParams{
// Desc: "Customer for [email protected]",
// }
customerParams.AddMeta("customer_key", <YOUR_CUSTOMERS_KEY>)
// customerParams.SetSource("tok_189fT12eZvKYlo2CYj4YoHKu") // obtained with Stripe.js
// c, err := customer.New(customerParams)Depending on your integration with Stripe your interaction with the metadata could be quite different. Here is a link to the Stripe API Docs for creating a customer.
Please let us know if you have issues figuring out how to do work with metadata and we will do our best to help out.
You can now test your integration by going to the Testing Suite in the PartnerStack Dashboard. Nice work!
Product Specific Rewards using a product_key
You can reward partner's for sales of certain products by including a product_key within the charge metadata. If your PartnerStack instance is set up to listen for invoice.payment_succeeded events, you can also include this product_key in the invoice metadata instead.
{
  "id": "ch_1Fhd8q2eZvKYlo2CNOTs0hmB",
  "object": "charge",
  "amount": 2000,
  "amount_refunded": 0,
  "balance_transaction": "txn_19XJJ02eZvKYlo2ClwuJ1rbA",
  "billing_details": {
    "address": {
      "city": null,
      "country": null,
      "line1": null,
      "line2": null,
      "postal_code": null,
      "state": null
    },
    "email": null,
    "name": null,
    "phone": null
  },
  "captured": false,
  "created": 1574432988,
  "currency": "usd",
  "customer": null,
  "description": "Charge for [email protected]",
  "dispute": null,
  "disputed": false,
  "failure_code": null,
  "failure_message": null,
  "fraud_details": {},
  "invoice": null,
  "livemode": false,
  "metadata": {
    // Enter product_key here
    "product_key":"productXYZ-101"},
  "payment_method": "card_1Fhd8q2eZvKYlo2CSXwtvRr1",
  "payment_method_details": {
    "card": {
      "brand": "visa",
      "checks": {
        "address_line1_check": null,
        "address_postal_code_check": null,
        "cvc_check": null
      },
      "country": "US",
      "exp_month": 8,
      "exp_year": 2020,
      "fingerprint": "Xt5EWLLDS7FJjR1c",
      "funding": "credit",
      "last4": "4242",
      "network": "visa",
      "three_d_secure": null,
      "wallet": null
    },
    "type": "card"
  }
}
If you aren't using PartnerStackJS or S2S tracking
You may not be using PartnerStackJS or S2S tracking if you have a product that is purchased on signup, for example, an e-commerce store.
If you are not using PartnerStackJS or S2S tracking, you must attach the customer_key AND the partner_key to the metadata in your Create Charge calls to Stripe. The partner_key is a unique identifier given automatically to partners on the platform. This lets us know which partner is responsible for referring which customer.
You can find a partner's partner key in your PartnerStack dashboard under "All Partners". If you're using our referral links, we add a query parameter ps_partner_key to the URL our links redirect to. By base64-decoding the ps_partner_key parameter, you can extract the partner key from here as well.
Testing and troubleshooting Stripe Payment Tracking
Tracking payments via Stripe App and Stripe Webhooks can both be tested without the use of actual transactions on a credit card. A full walkthrough of how to test Stripe in particular is available on Loom. See Testing and Troubleshooting Payment Tracking for more information.
Uninstalling Stripe App
If desired, the Stripe App can be uninstalled by the following steps:
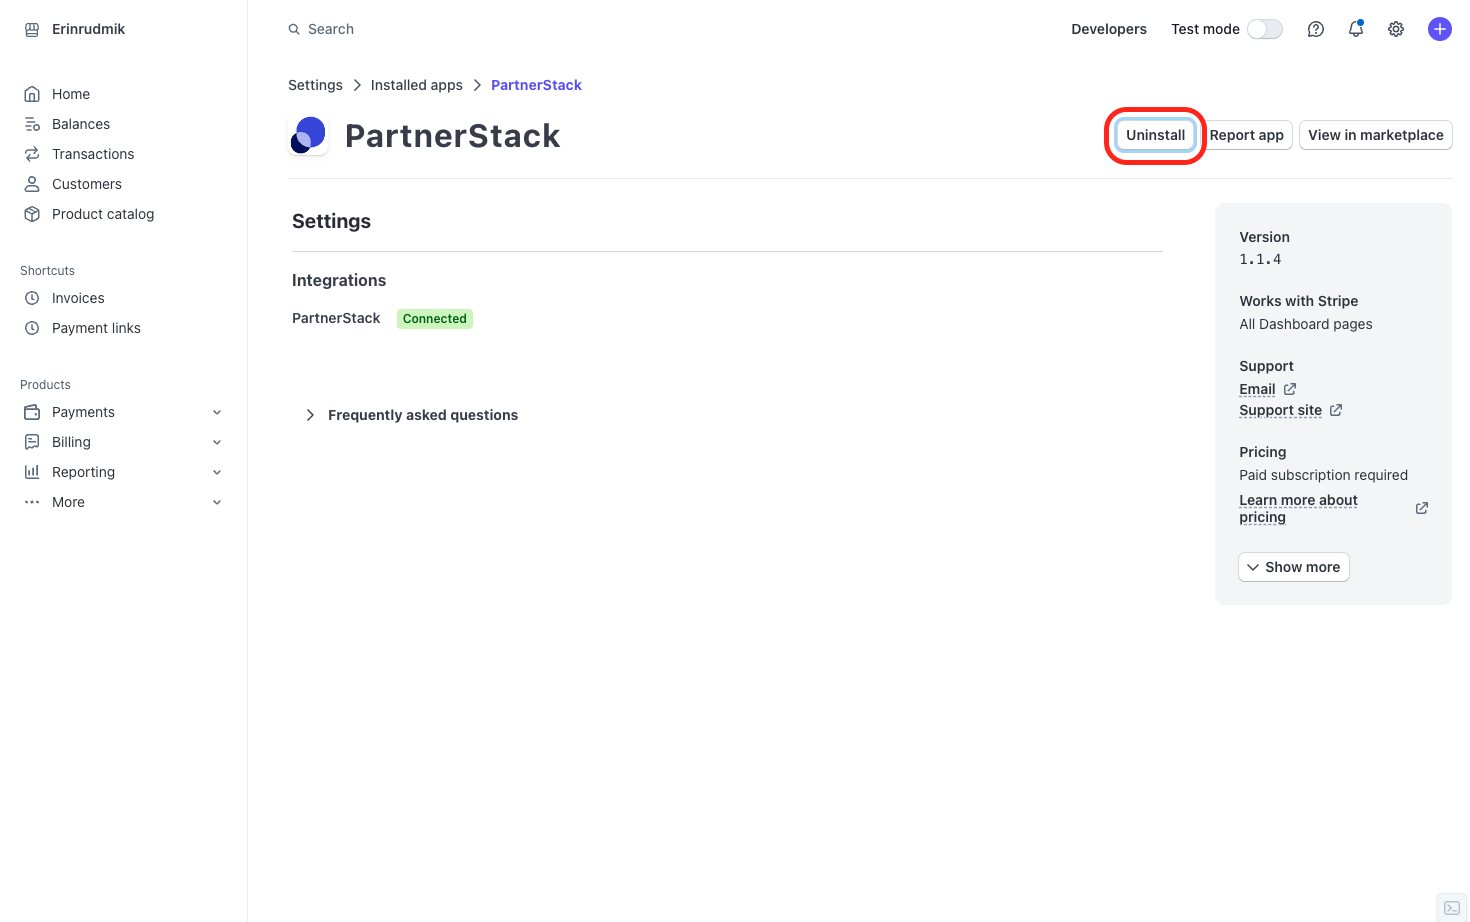
- Log into your Stripe instance
- Navigate to the PartnerStack app
- Click Uninstall and confirm your uninstallation.
Updated 5 months ago
